Putting it all together
tl;dr = After doing a bunch of work I have a basic game engine and tools to generate game data. I created a very short demo/template project to prove it out. There's a download link at the bottom of the page.
Oh, and there's no actual tutorial in here. If you're looking for some code examples try the previous (or maybe eventually) next part in this series. I have at least one more part planned after this one and it even might exist by the time you're reading this.
A couple years ago I released a demo game for the Sega Genesis called Retail Clerk '89. I don't know if anyone played it. Retail Clerk '89 originally started as kind of a Phantasy Star II-IV knock-off. Trying to include stats and a battle system was too much for me. I'd still be working on it today (or more likely would have abandoned it). Instead I built something that's halfway between the adventure and interactive fiction genres. It's sort of like if To the Moon had a bad story.
I started on a sequel, un-creatively titled Retail Clerk '90, but got sidetracked. All the things I found boring about writing the first game haunted me again. So I pivoted to writing a bunch of tools to automatically generate the boring things.
Along the way I separated the code into two parts - a base game engine and demo-specific parts. To validate that the tools worked and this code separation made sense I created a quick template demo. Here is how it's organized:
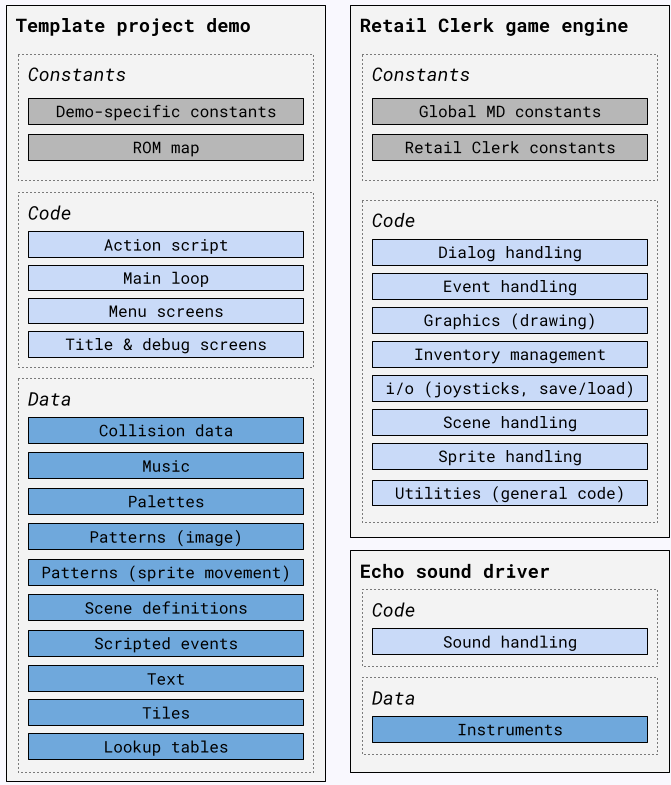
This template/demo itself is only four rooms:
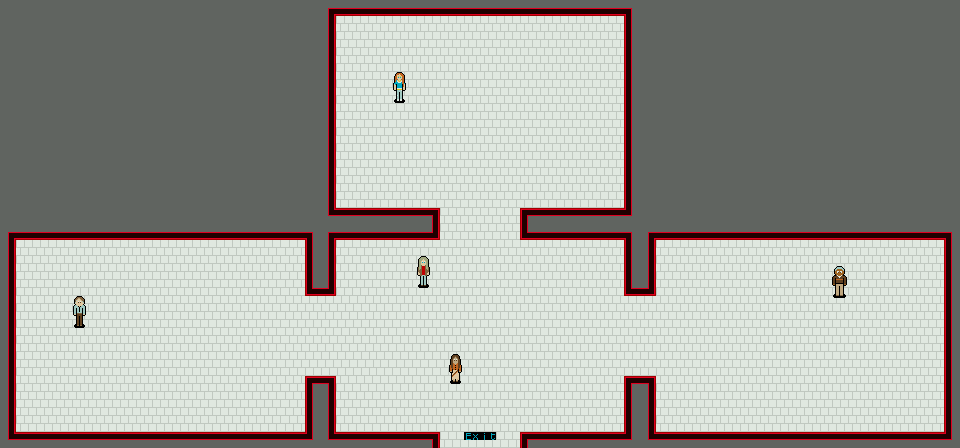
These four rooms are enough to demonstrate everything in the Retail Clerk game engine. No, seriously. Let's take a look..
Things demonstrated
This template/demo shows all the things that the Retail Clerk game engine does. It's not horribly advanced but enough to build the types of demos I'm interested in building.
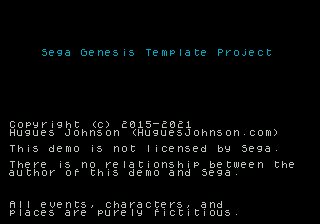
When the demo boots it shows a splash screen as is now expected in all games. There is only one splash screen unlike modern games that average around 70. The Sega logo doesn't display because this demo is not licensed (obviously). This also shows the difference between the regular and debug builds. In the latter this screen only displays for a second.
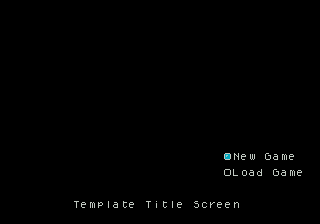
Next is a title screen with "New Game" and "Load" options. There is also a "Debug" option in the debug build of the demo. There is plenty of room to add graphics on this screen.

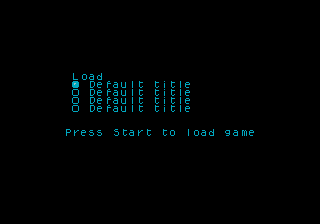
If there are no saved games this is what the Load screen looks like.
And here's what it looks like if there are saved games. The titles are built off a lookup table based on a value in the game state.
After starting a new game there is another screen intended to show tips or objectives for the next day. This also alludes to 6-button support being present. I'd like to build demos that can function with just 2 buttons (or maybe 2 plus start/select). Additional buttons can be used for optional features like fast-forward.
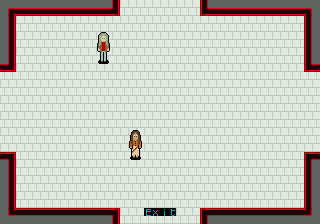
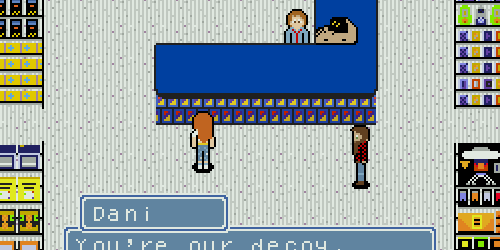
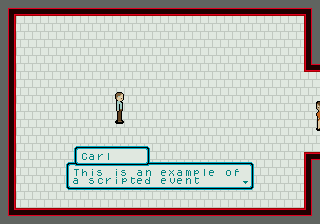
Here's the first room. The splash screen said all characters are fictitious, this is the only exception. Leaving out the bottom exit ends the demo. That demonstrates how a scene exit event works. There is also a demonstration of a simple dialog here.
The room on the left demonstrates an enter scene event. This is something I added while working on Retail Clerk '90. If I was smarter these would have existed in Retail Clerk '89 instead of the hacky things I did to handle events when the player enters a room.
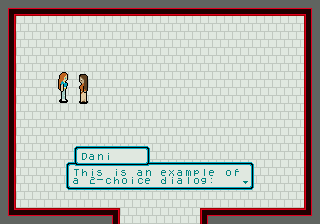
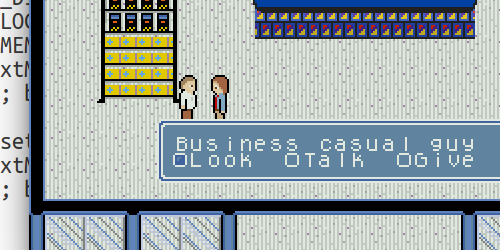
The top room demonstrates a 2-choice dialog.

The player is given two options and can cancel out with the B button.
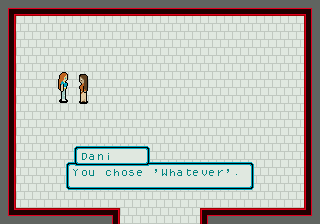
If a selection is made then a response event is triggered.

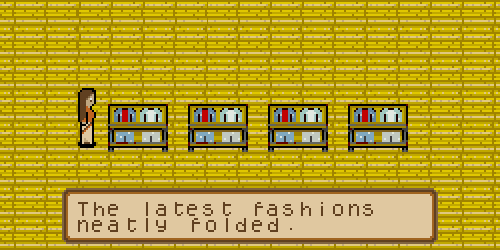
The room on the right is similar, it demonstrates a 4-choice dialog.
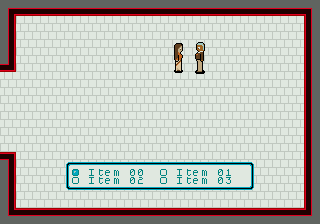
Otherwise it functions like a 2-choice dialog where the player can cancel out using the B button.

This demonstrates both a response and item management. The demo checks if the player already has the selected item and either adds it to their inventory or displays a message saying they already have it.

It also demonstrates an alternate dialog if the player has all the items.
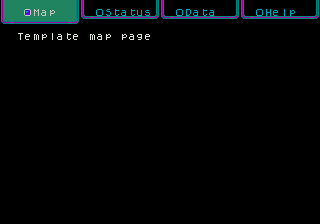
Pressing the C button opens up the menu which can be exited with the B button. The first page on the menu is the map which is empty in this demo. Although I guess I could add it there right?
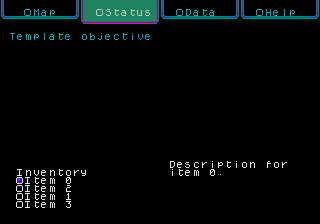
The next tab is for the objective and inventory. Selecting an item on the inventory list displays its description.
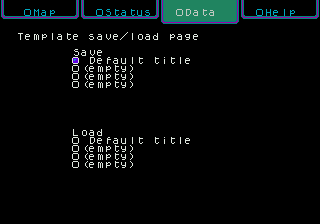
Then there's a save/load screen which actually functions.
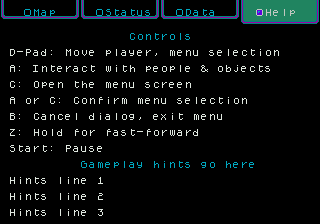
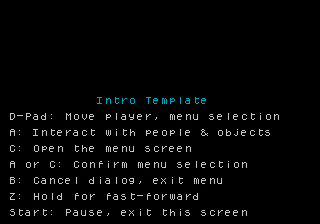
The help page lists out the controls, although I'm not sure how you got to this page without at least knowing the basics. This page could of course be expanded to include more helpful information.
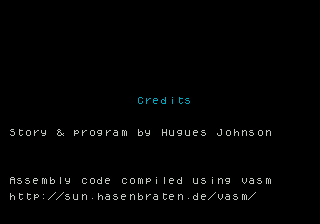
After exiting there is a multi-page credits sequence.
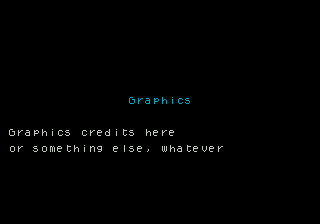
Each screen leaves some room at the top for graphics.

These run in a scripted event so adding or removing scenes is easy.
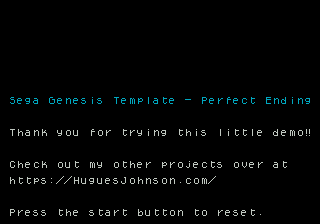
There are three endings based on how many things the player did in the demo. The only difference between them in this demo is the title text.
Customizing
I'm not building a "zero code" system. At least not now. I still enjoy writing code so it's at best unlikely that I would try to create a "zero code" system.
What I've been working on is a set of tools to build all the boring parts. Stuff like generating tiles, formatting text to fit dialog length, creating scene definitions, building collision data, and so on. Anything considered "game data" should be "zero code" while actual game logic can remain "lots-o-code".
Let's review the project structure:
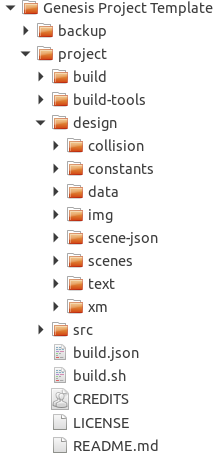
backup: The build tools have a step, which can be disabled, to backup the entire project before doing anything else. This exists because I make a lot of mistakes.
project/build: This is where the compiled rom(s) go.
project/build-tools: This contains the build tools (link to the latest source is at the bottom).
project/design: This contains all the various design things that are used to generate game data. This is a mix of images and json depending on the thing being built. For example, if you want to change the appearance of the sprites you change the images used to build their palette or the tilesets themselves. They're both under project/design/img.
project/src: Source code - this is all the source code, including generated code and a copy of the base Retail Clerk game engine.
build.json, build.sh: The build script and an example command to run it.
How all the tooling works is mostly explained in the Retail Clerk '90 development blog. If you download this template you are free to scrap all the build tools and hack away at the source code directly.
So this is by far the least instructional Sega Genesis programming article I've done. It's really just a giant proof that all these previous articles actually amounted to something. I have about 50% of the next article in this series done and I promise it has code that attempts to solve something interesting.
Download
Yes, I know it took a while to get here.
Here is the source code and compiled ROM for this demo
Tags: 68K programming Retro programming Game development Sega Genesis