Can you even vibe code a Sega Genesis game?
I feel a little bad for people turning to AI to learn Sega Genesis programming. I've poked around with it out of curiosity and found the results mixed. Gemini is my go-to at the moment. It knows 68000 assembly well enough, although I haven't asked about anything complicated. I prodded enough to confirm it understood the language and could implement a couple of algorithms.
The knowledge it has for the Sega Genesis is limited to an assortment of pages with tutorials, this one included. All the code it produced was a near 1:1 match with a tutorial I already knew. When I look at traffic logs I see a handful of hits from AI sites to some page in this series. There are better tutorials that I'm sure see more.
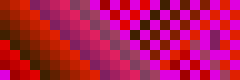
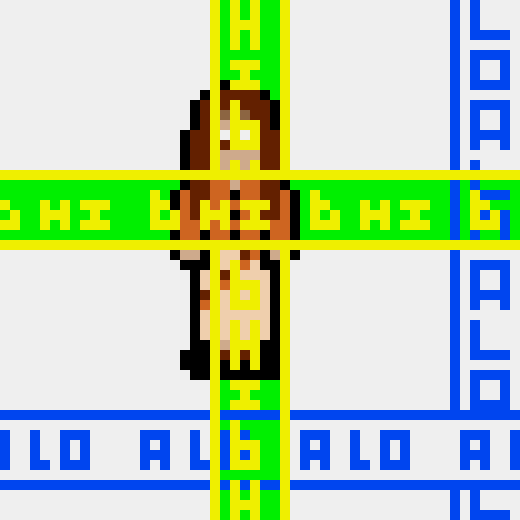
In an early article on my learning voyage, I created this image:

This shows up quite a bit in my logs too. It could be people asking for programming advice or someone curious how planes work or someone trying to create a similar image. Note: it took me less time to create that image than it would to write a prompt that created it. It's unfortunate because that image isn't exactly correct.
It turns out I never really understood how planes are ordered. I've written three full demos and a handful of tiny proof-of-concept ones. I should have written one more, something to verify how planes are drawn. Something that I can go back to and quickly reference when I'm trying to design a new scene.
Let's do that now. By "that" I mean a very quick/ugly demo where all the planes are used and all overlap each other.
Step 1 is creating some palettes. This one will be used for the B plane:

I'll use this one for A plane (low):

And this one for A plane (high):

The fourth palette is for sprites, I'm reusing existing stuff there.
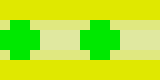
Then I need some patterns, like a tacky one for scroll B (high):
And a tacky one for scroll A (low):
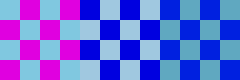
And another tacky one for scroll A (high):
Put this all together and here's what we get:
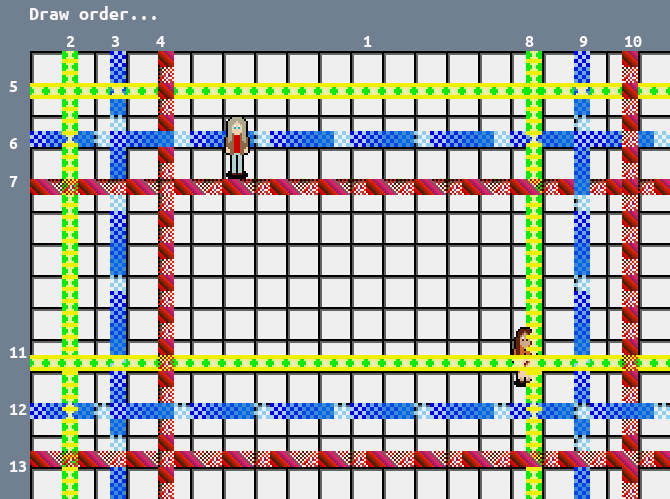
Right away this makes it obvious how draw order makes a difference. I learned this the hard way a while ago.
Look at the intersection of 6+4 and 6+10 for example. Line 6 is scroll A low while 4 and 10 are scroll A high. I think a reasonable person would imagine that tiles drawn to the high plane would always be over tiles drawn to the low plane. These aren't really two planes though. So line 6 (the sixth thing drawn) plows right over line 4 (the fourth thing drawn) despite being "lower". This is because it's all a single plane and the new tile at that (x,y) point is replacing the earlier ones.
I am left feeling confused about how transparency in the high B plane works:
Transparent tiles show the background color just as they would in the low B plane. My feeble brain would have expected to see the low B pixels under the transparent high B pixels but, as already explained, that's not how things work. Non-transparent sprite pixels are shown under the high B plane. For the demos I've created this would be a useless effect. Unless the floor in this example was a solid color it will look weird, like it does in the previous image.
Instead of tacky graphics I should have done this in the first place:
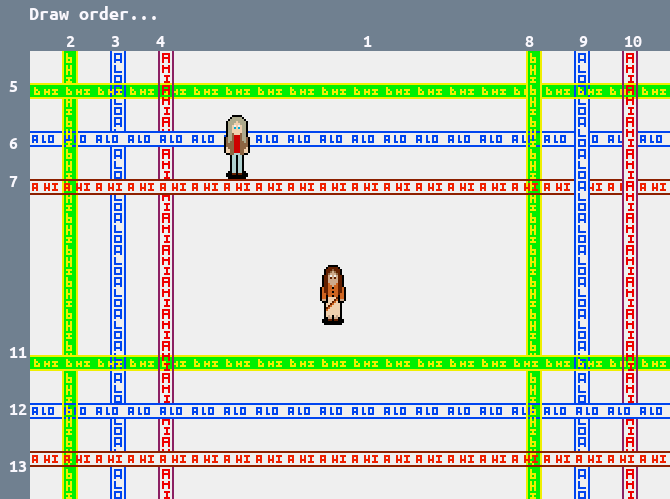
See how much easier that is to follow? I think this is a better illustration of how the planes are layered and how draw order impacts the final image.
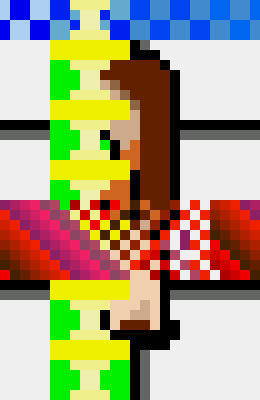
The high B plane effect is easier to see here too:
So that's all I have this time. I will reference that second screenshot more than the original diagram I made when I was still figuring things out.
Tags: 68K programming Retro programming Game development Sega Genesis