I'd like to write a 4th, and maybe penultimate, Sega Genesis demo. It's small and something I want to build to test out a slightly different style than what I've done so far. The biggest barrier to starting this project has simply been starting it. My first two demos were built iteratively. Try something and see if it works, fix it or scrap it. This approach doesn't work so well if you're trying to add a garage to your house, but it's fine for software.
I've probably had a job title that included "engineer" in it at some point. That is such a misnomer. If an engineer designs a boat dock that catches on fire the first time someone tries to dock a boat, they'd be out of work. On the other hand, an engineer couldn't deal with a request like "Yeah, I know the boat dock is supposed to go-live in three days but what the customer really wanted all along was a golf course. If you could go ahead and change it that would be great, it still needs to be live in three days by the way."
These are not the same job. I could sit here and deliberately plot out what demo I want to build, or I could start writing stuff and see what I end up with.
First things first, after all this time I finally tried running Gens KMod running in Crossover:
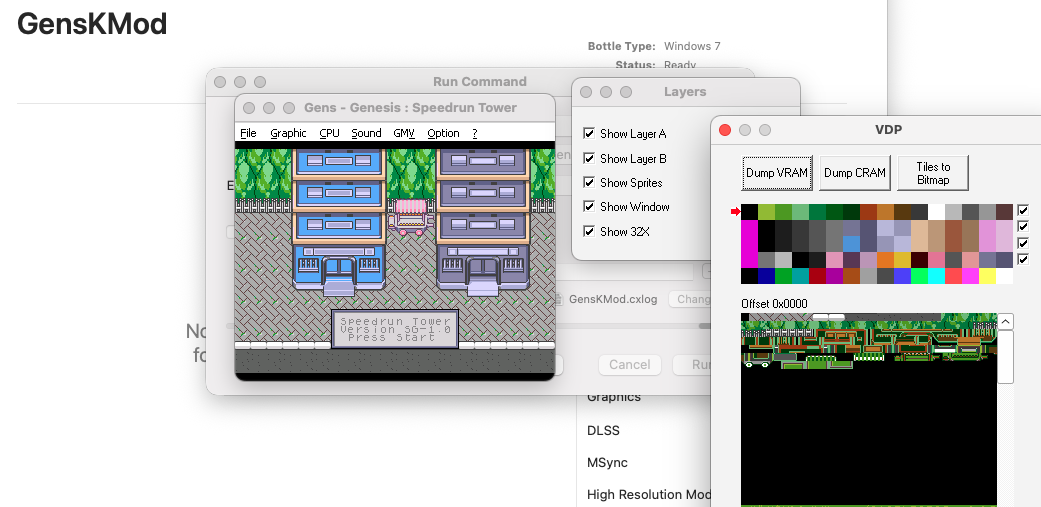
Why did I not think of this before? It's so obvious now and would have saved me all kinds of time.
In my next demo, I'd like to create a gradient background fill. That doesn't sound very difficult, and it isn't in theory. In practice, being limited to a 9-bit RGB palette introduces some challenges.
I'll start with what an 8-color gradient layout looks like, or what I think it looks like:
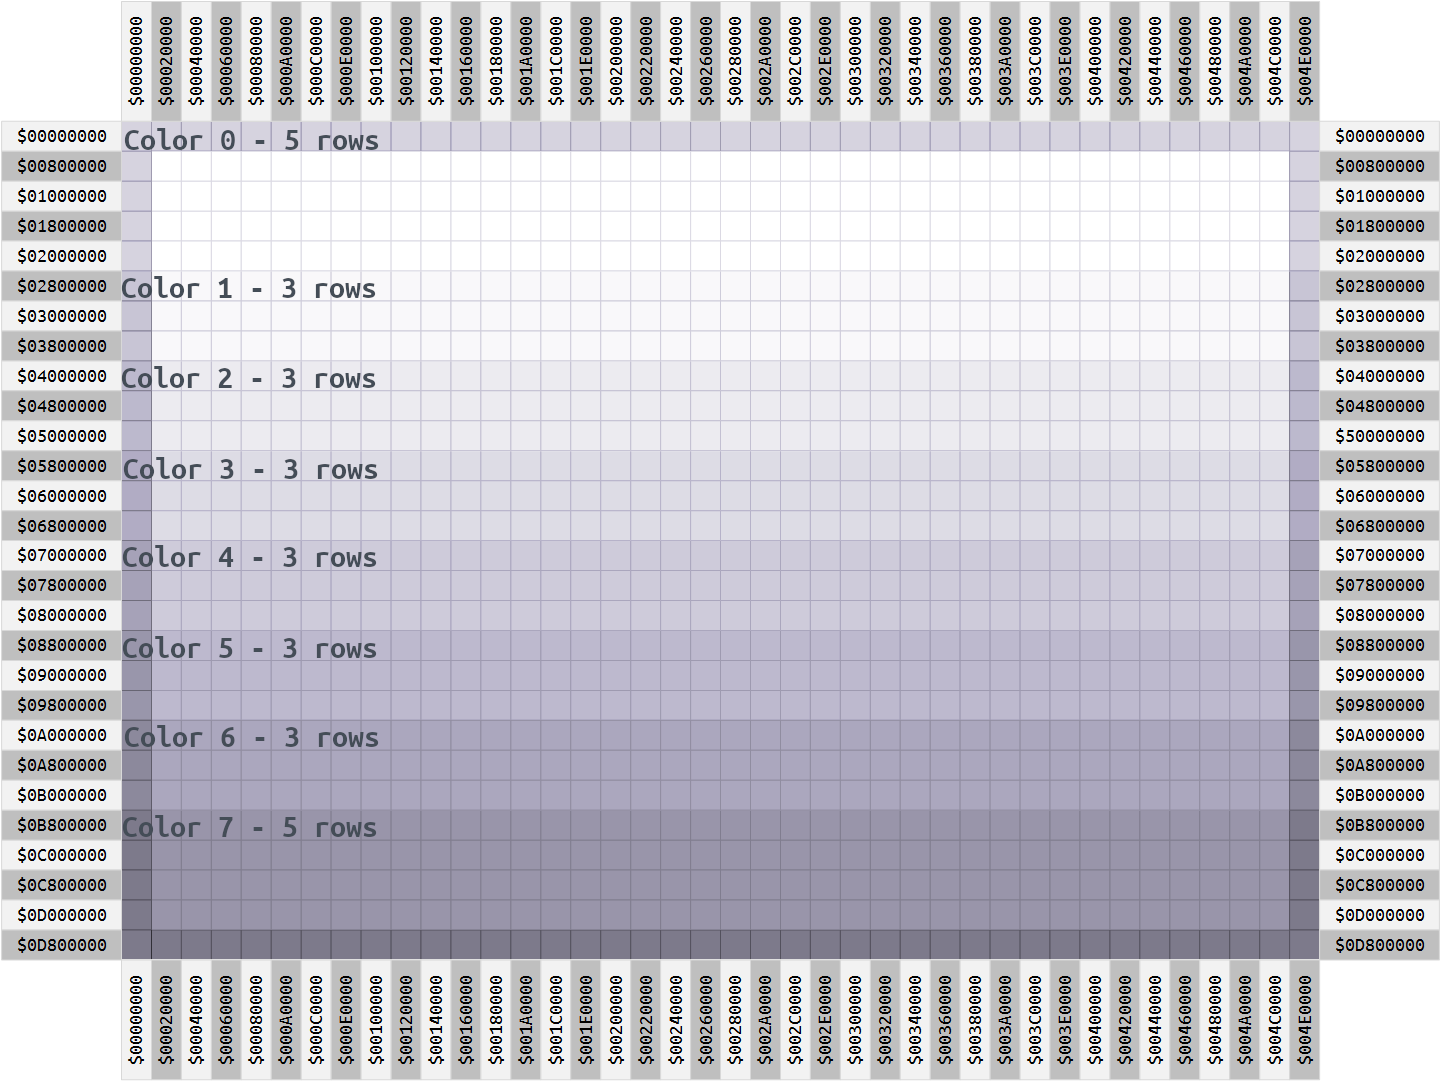
Here's a mock-up:

I think that looks bad.
Here's what a 16-color gradient layout might look like:
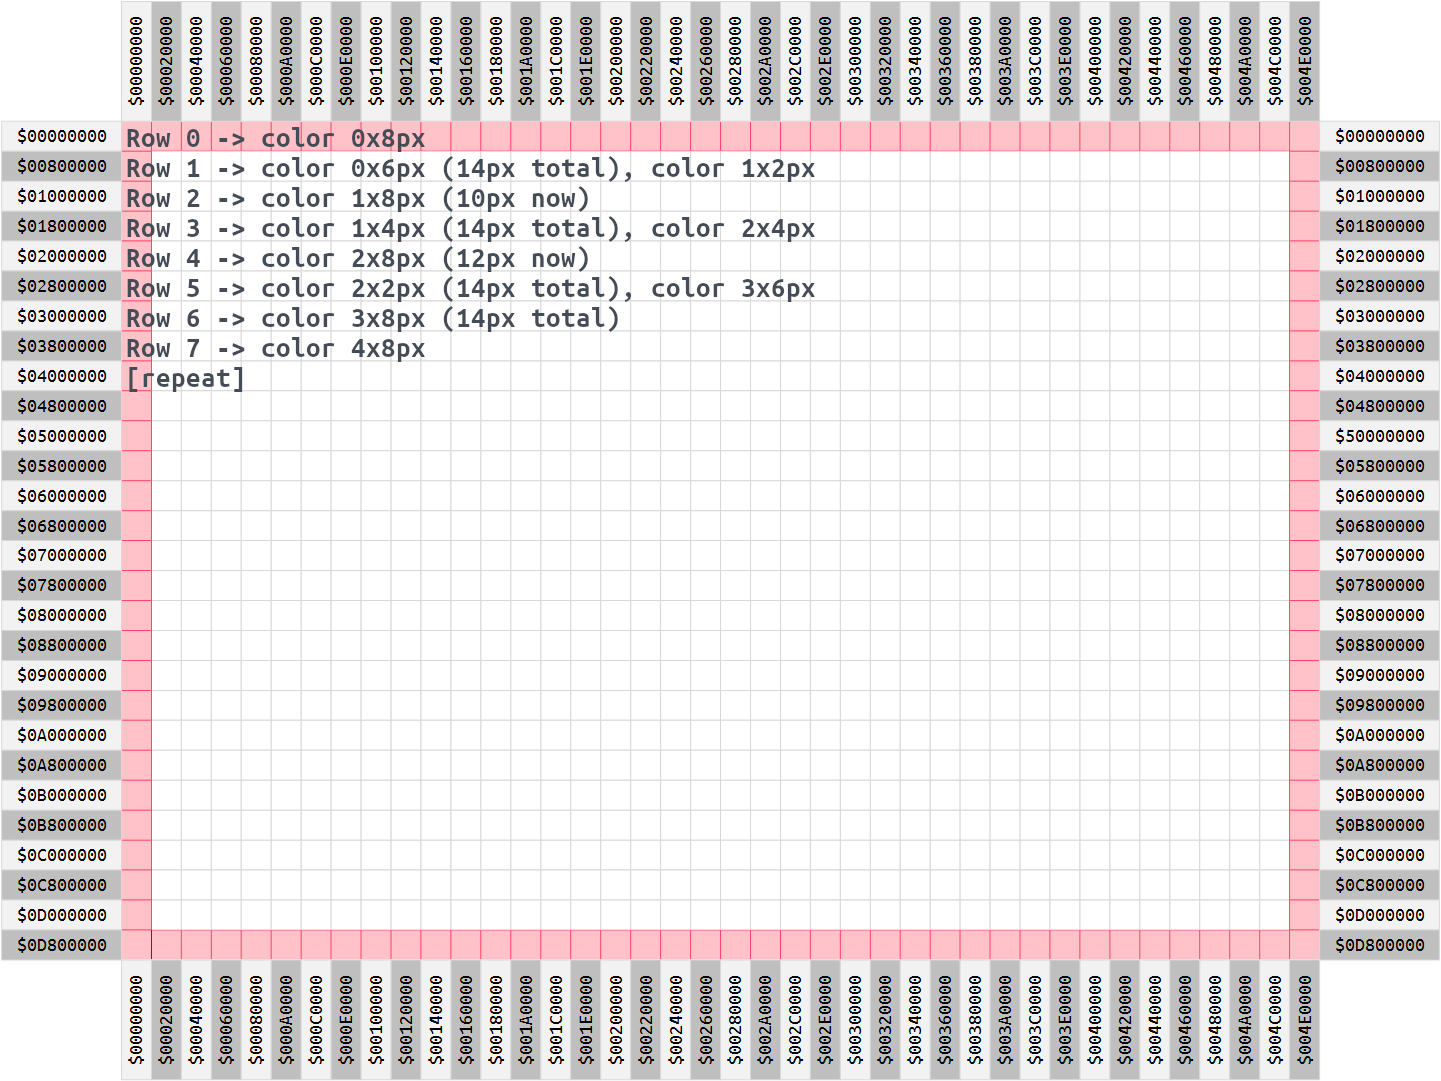
And another mock-up:
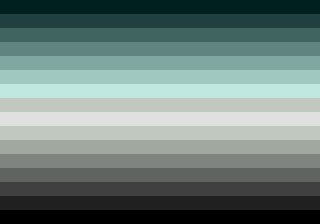
I think that also looks bad.
Let's see how these actually look when incorporated into my project template:
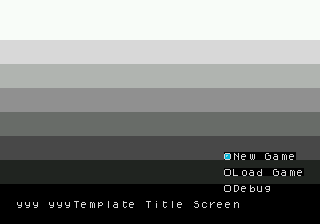
Yes, that looks bad.
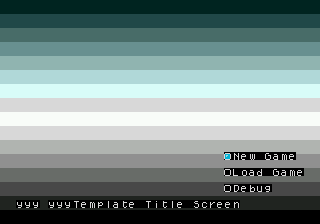
That looks even worse.
Before trying other layouts, can I make this look OK with only 4 colors?
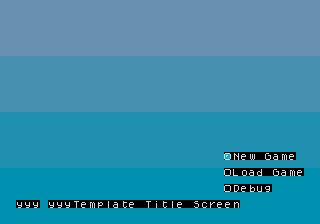
That's an improvement. Keep in mind, with the build tools I created, it only takes a couple seconds to change this background image and re-compile. Some day I should do a better job explaining how that works because I have built a pretty functional system for creating "no code" Sega Genesis demos.
Anyway, 4 colors looks better. A slight tweak to the layout might help more:
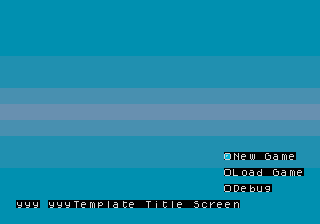
That's a decent improvement... how about some darker colors?
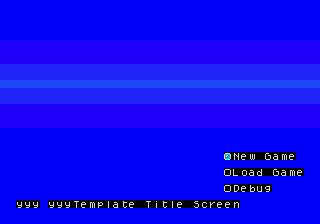
OK. So this is shifting from #0000C0 -> #2000C0 -> #2020C0 -> #0020C0. That creates a noticeable jump in color vs. a smooth transition. I'm using HTML RGB values here for readability.
Something more subtle is going from #002000 -> #002020 -> #002040 -> #002060.
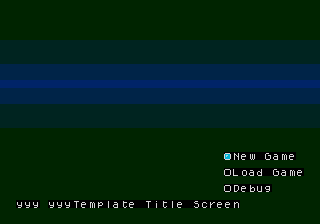
Now I do the thing I should have started with - reviewing how better developers & artists handle this:
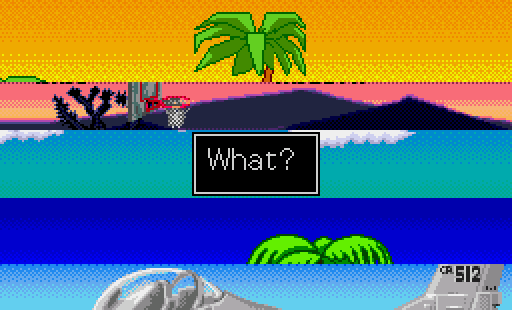
The second from the bottom is the subtle look I'm trying to achieve. Bonus points if you can name all five of these games.
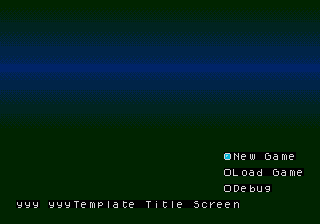
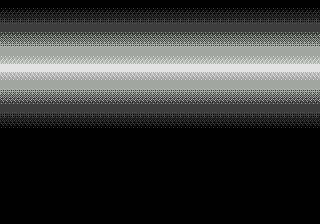
Rather than rip one of these off, I used a sky pattern from the Pixel Art Infinite Runner Pack. I bought it in a bundle a while ago. Using that pattern, the results are what I wanted:
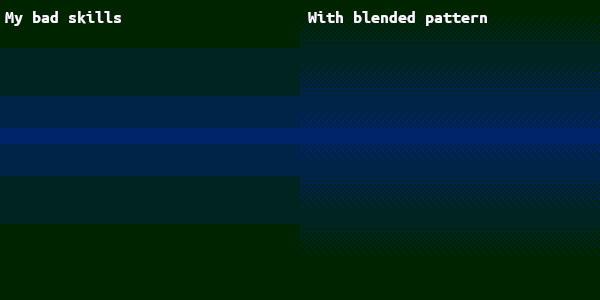
Here's an enlarged side-by-side comparison that makes the improvement more obvious. Instead of straight edges, it looks like a smooth transition:
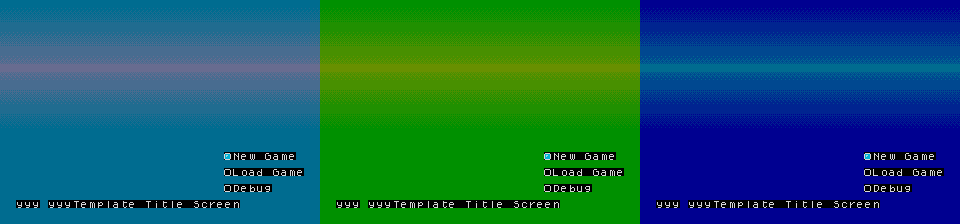
Here are three other examples, sticking with close colors produces the best results:
So this looks OK, but is horribly inefficient with regards to storage. My esoteric tooling is very good at taking an image, converting it to a set of unique 8x8 tiles, and creating a pattern to draw the image. It starts with a base pattern like this:
This process can also extract the palette used for the base pattern:

It will then produce a set of unique tiles like these (enlarged of course):

When the scene is actually drawn in the game, the palette is overridden. For example, here's the palette for the last image in the previous set of three:

This all goes into a scene definition (JSON) that the tooling converts to smaller binary data:
{
	"name":"SceneTitleDebug",
	"id":"SCENE_ID_TITLE_DEBUG",
	"destinationFilePath":"src/scenes/TitleDebug.X68",
	"tilesetNames":[
		"TransparentTile",
		"Gradient04Tiles"
	],
	"paletteNames":[
		"PaletteTitleBG",
		"PaletteText00",
		"PaletteText01",
		"PaletteText02"
	],
	"scenery":[
		{
			"patternName":"PatternGradient04BGHorizontal",
			"comment":"background",
			"tilesetIndex":1,
			"tilesetOffset":0,
			"highPriority":false,
			"paletteNumber":0,
			"repeat":0,
			"layer":"VDP_VRAM_WRITE_B",
			"row":"00000000",
			"column":"00000000"
		}
	],
[...]
The good part of this whole process is the number of tiles stored in the ROM in minimized to only the unique ones. This is inefficient though because PatternGradient04BGHorizontal has the entire 320x224 pattern stored.
PatternGradient04BGHorizontal:
	dc.w	$1B	; 28 rows
	dc.w	$27	; 40 columns
	dc.w	$0
	dc.w	$0
[... and so for a total of 28x40 words ...]
That's bad. I'll make it a bit smaller though. A small savings is removing the first tile from the unique tileset since it is simply the background color.

Now the layout can be reconsidered:
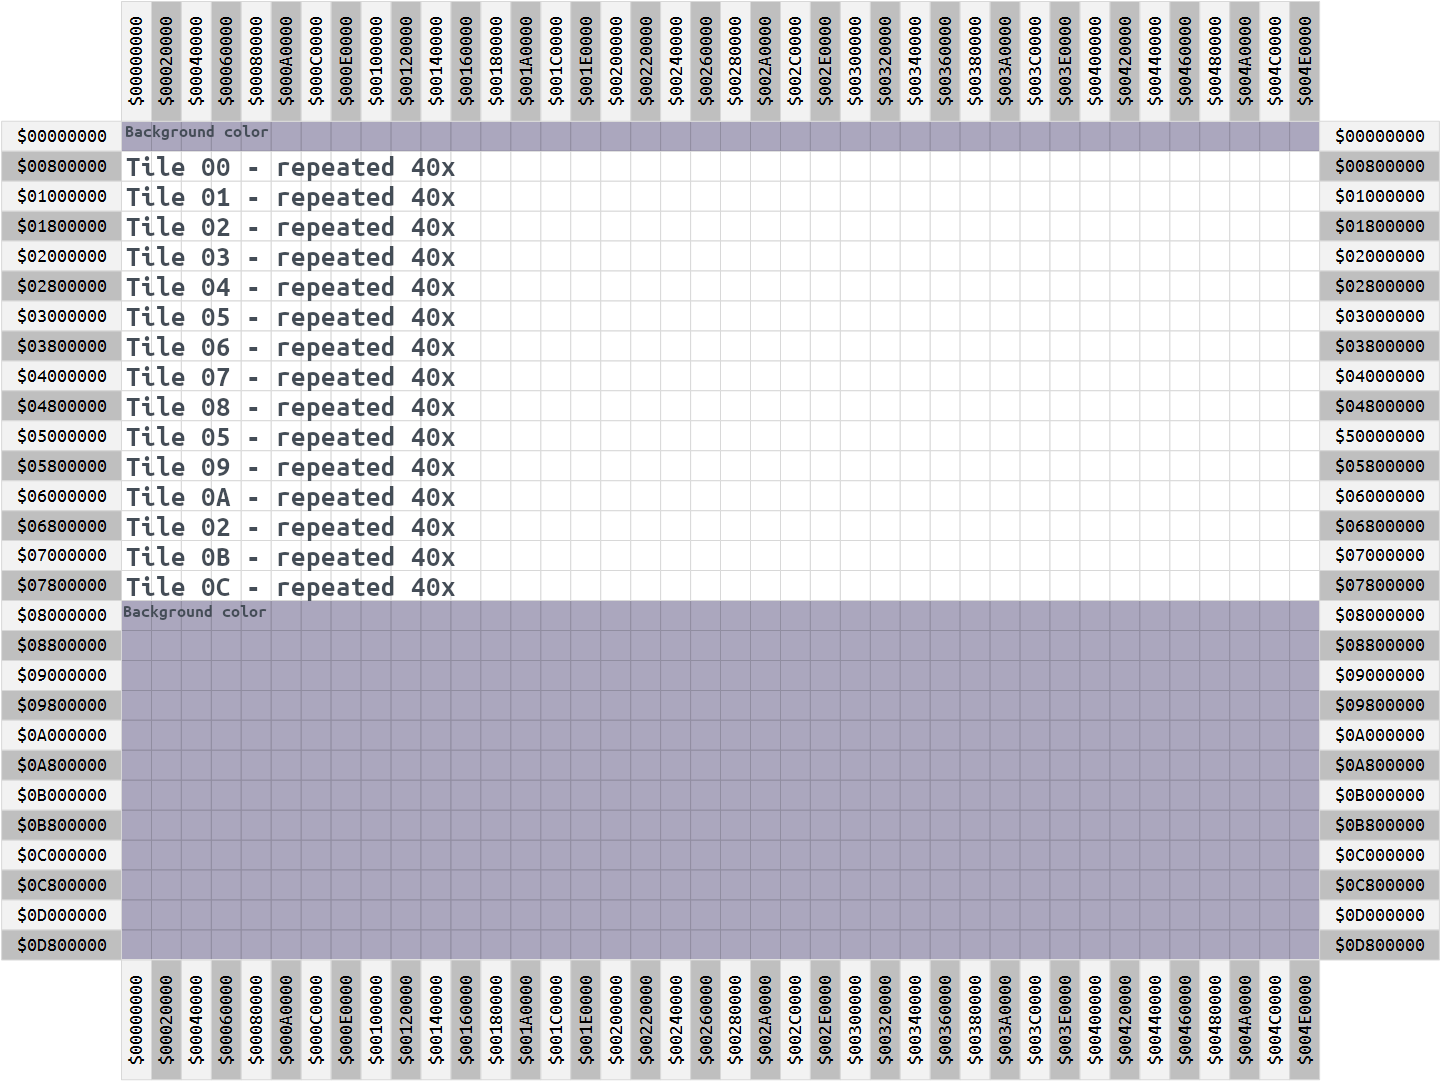
Then I need a new generic pattern to draw the same tile across a row. Somehow I've never needed this before, and it highlights a design problem (I created) that I will explain soon:
PatternSingleTileFullRow:
	dc.w	$0000	; 1 row
	dc.w	$0027	; 40 columns
	dc.w	$00,$00,$00,$00,$00,$00,$00,$00,$00,$00
	dc.w	$00,$00,$00,$00,$00,$00,$00,$00,$00,$00
	dc.w	$00,$00,$00,$00,$00,$00,$00,$00,$00,$00
	dc.w	$00,$00,$00,$00,$00,$00,$00,$00,$00,$00
This is still taking up more space than I want. This is because when I implemented repeat for pattern drawing, I did it vertically. It fit how I was doing things at the time. Ideally, I would have something that is just the tile ID and number of times to repeat, oh and which direction to repeat (horizontal vs vertical). I will save this for another time.
This means the JSON that defines the scene is a lot larger, but that doesn't matter. It has a series of entries like:
"scenery":[
	{
		"patternName":"PatternSingleTileFullRow",
		"comment":"background - row 0 - tile 0 x40",
		"tilesetIndex":1,
		"tilesetOffset":0,
		"highPriority":false,
		"paletteNumber":0,
		"repeat":0,
		"layer":"VDP_VRAM_WRITE_B",
		"row":"00800000",
		"column":"00000000"
	},
	{
		"patternName":"PatternSingleTileFullRow",
		"comment":"background - row 1 - tile 1 x40",
		"tilesetIndex":1,
		"tilesetOffset":1,
		"highPriority":false,
		"paletteNumber":0,
		"repeat":0,
		"layer":"VDP_VRAM_WRITE_B",
		"row":"01000000",
		"column":"00000000"
	},
[...]
	{
		"patternName":"PatternSingleTileFullRow",
		"comment":"background - row E - tile C x40",
		"tilesetIndex":1,
		"tilesetOffset":12,
		"highPriority":false,
		"paletteNumber":0,
		"repeat":0,
		"layer":"VDP_VRAM_WRITE_B",
		"row":"07800000",
		"column":"00000000"
	}
This all gets compiled down to a small amount of byte code. It's still not super-efficient, but it works.
I know this wasn't really much of a tutorial. This was really just a long way to motivate myself to start working on a new demo.
Tags: 68K programming Retro programming Game development Sega Genesis